
Portuguese Prepper
Knife Sharpening Guide: How to Sharpen and Maintain a Survival Knife
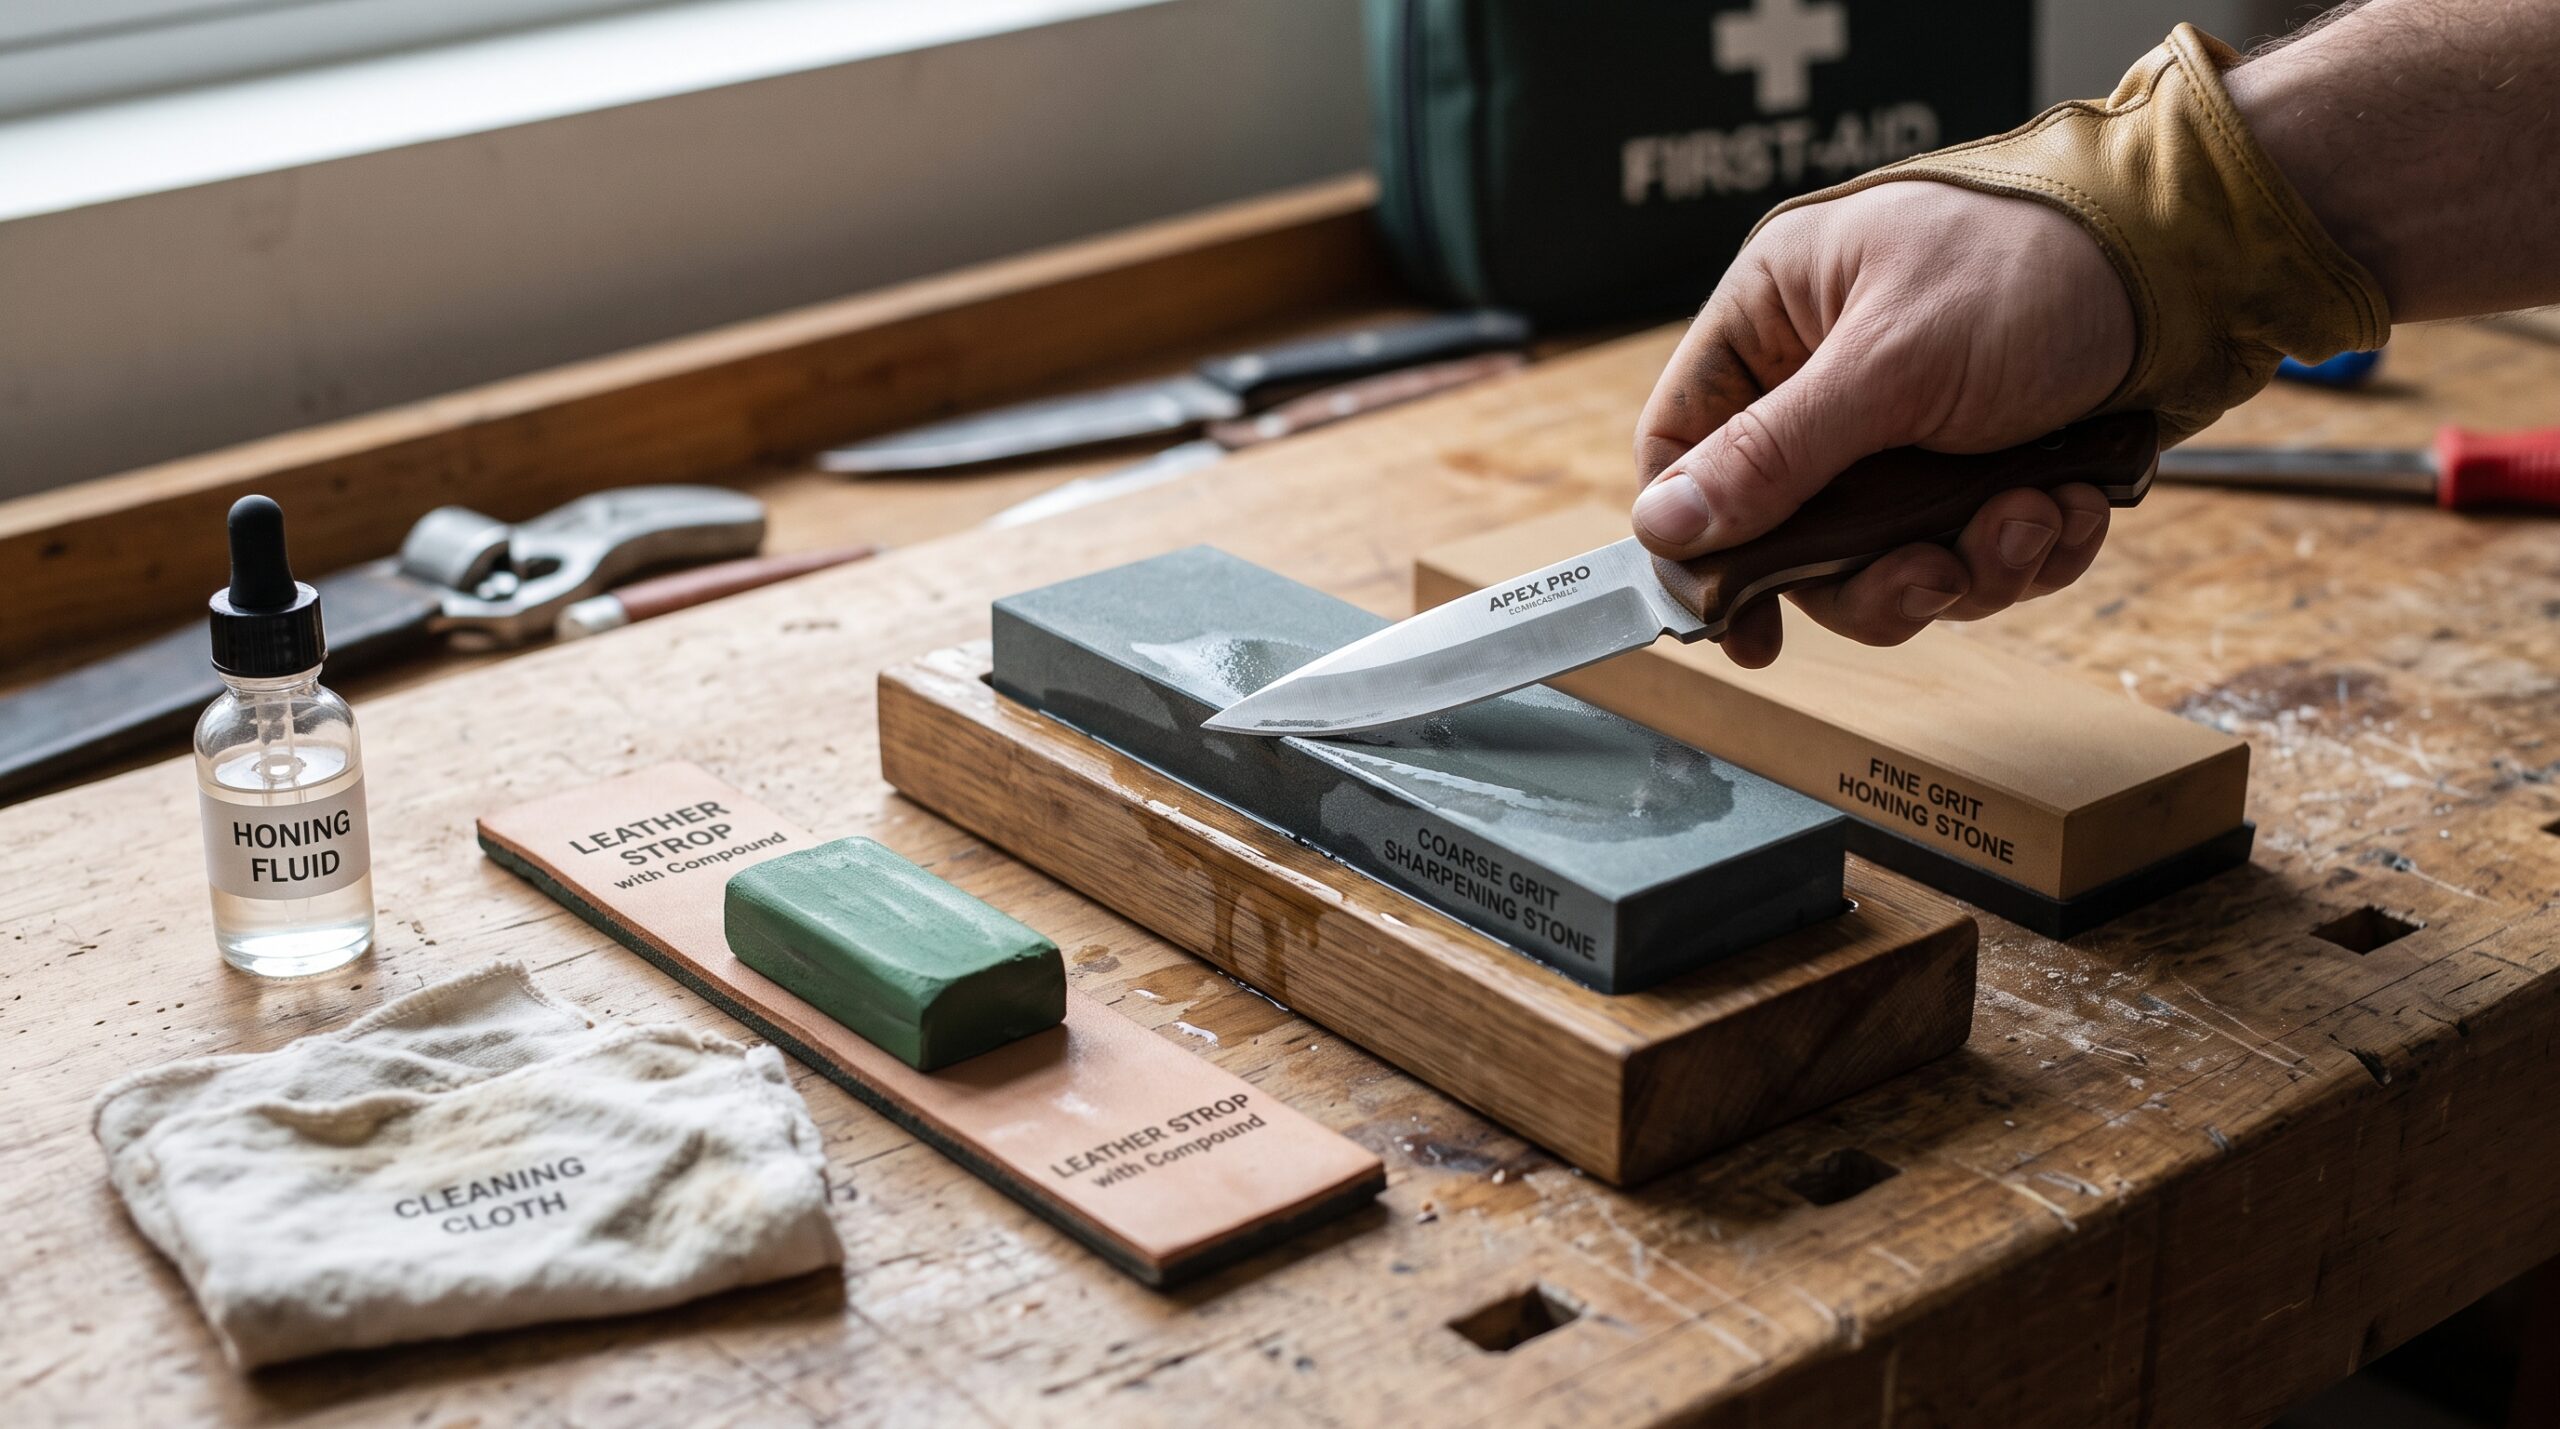
Short answer: keeping a survival knife sharp is primarily about maintaining a consistent edge angle, using an abrasive appropriate to the condition of the blade, forming and removing the burr correctly, and stopping before you remove more steel than necessary. For field maintenance, a compact diamond/ceramic stone such as the Fällkniven DC4 provides a practical combination of coarse sharpening and fine finishing.
A dull knife generally requires more force to cut effectively, which can reduce control and increase the consequences of a slip. More importantly for preparedness, sharpening is a skill you should learn before an emergency rather than attempting for the first time when your knife is already damaged or blunt.
Sharpening vs. Stropping: What Is the Difference?
Knife maintenance is easier to understand when you separate sharpening from stropping.
| Process | Purpose | Typical tool |
|---|---|---|
| Sharpening | Removes steel to restore or reshape the cutting edge | Diamond plate, ceramic stone or whetstone |
| Fine sharpening | Refines the scratch pattern and edge after coarser sharpening | Fine ceramic or fine stone |
| Stropping | Refines and cleans up the apex after sharpening and can help maintain an already good edge | Leather strop, optionally with compound |
If the knife is still cutting well, you may not need to return immediately to an aggressive abrasive. Regular light maintenance can reduce how often substantial sharpening is required.
What Sharpening Angle Should You Use?
There is no universal 20-degree sharpening angle for every knife. Blade geometry, steel, intended use and the manufacturer’s original edge all matter.
For routine maintenance, the safest starting point is usually to follow the existing bevel rather than choosing an arbitrary angle and unintentionally reprofiling the blade.
As a general principle, a more acute edge can cut efficiently but leaves less material supporting the apex, while a more obtuse edge sacrifices some cutting efficiency for greater edge support. A hard-use outdoor knife may therefore use different geometry from a thin kitchen knife.
If the knife manufacturer specifies an edge angle or sharpening method, follow that recommendation for the exact blade.
The Three-Step Field Sharpening Method
For basic field maintenance, you do not need a powered sharpening system. A compact abrasive with coarse and fine surfaces, followed by optional stropping, can maintain many common outdoor knives.
Step 1: Restore the Edge With the Coarser Surface
Use the coarser abrasive when the knife has become genuinely dull or the edge needs more substantial correction. With the Fällkniven DC4, this role is performed by the diamond side.
Hold the blade so the existing edge bevel lies consistently against the abrasive. Work along the entire cutting edge rather than repeatedly grinding one small section.
As material is removed from one side, a small burr can form along the opposite side of the apex. The burr is evidence that sharpening has reached the edge rather than simply polishing the shoulder behind it.
Do not continue heavy grinding simply because a burr has appeared. Excessive sharpening removes steel without providing a corresponding benefit.
Step 2: Refine the Edge
Move to the finer abrasive once the basic edge has been restored. On the DC4, this is the ceramic side.
Use progressively lighter pressure and concentrate on maintaining the same bevel. Alternate sides as you refine the apex and work toward removing the remaining burr.
The objective is not to polish the entire blade. You are refining the very narrow geometry responsible for cutting.
Step 3: Strop the Edge
A leather strop can be used after sharpening to refine the apex further and remove residual burr material.
Unlike sharpening strokes where the edge may move into the abrasive, stropping is performed edge-trailing: the spine leads and the cutting edge follows. Pushing the edge forward into a soft leather strop can cut into the leather.
Use light pressure. Excessive pressure can cause the leather to wrap around the apex and round an otherwise sharp edge.
Our Field Sharpening Setup
Affiliate disclosure: This page contains affiliate links. If you purchase through these links, we may earn a commission at no additional cost to you.
Primary Pick: Fällkniven DC4
A compact combination sharpener with diamond and ceramic surfaces. The diamond side provides the more aggressive abrasive for restoring an edge, while the ceramic side is used for finer sharpening.
Its compact format makes it particularly suitable for a bug-out bag, vehicle kit or field-maintenance pouch where a full bench sharpening system is impractical.
Find it on AmazonOptional Finishing Tool: Leather Strop
A dedicated leather strop gives you a larger, more controlled surface for finishing and maintaining an edge after sharpening.
It is more useful as a complement to a sharpening stone than as a replacement for one: a seriously dull or damaged edge still requires an appropriate abrasive.
Find it on AmazonHow to Use the Fällkniven DC4
The DC4 combines two different abrasive surfaces in one pocket-sized tool:
- Diamond side: the more aggressive surface, used when greater material removal is required.
- Ceramic side: the finer surface, used to refine the edge after the diamond stage or for lighter maintenance.
Do not automatically begin with the diamond side every time you maintain the knife. If the edge only needs light refinement, starting with the finer ceramic surface can avoid unnecessary steel removal.
Likewise, a badly chipped or heavily damaged blade may require more extensive repair than a small field stone can conveniently provide. The DC4 is particularly useful for maintenance and normal sharpening rather than replacing every type of workshop sharpening equipment.
How to Know When Your Knife Is Sharp
There is no single test that proves a knife is correctly sharpened for every purpose. Use several simple checks rather than chasing an unnecessarily polished “razor edge.”
The Paper Test
Try slicing cleanly through ordinary paper. A properly sharpened edge should cut without repeatedly catching or tearing.
The paper test is particularly useful for identifying inconsistent sections of the edge. If the blade slices smoothly until one specific point repeatedly snags, inspect that section rather than automatically resharpening the entire blade.
Visual Inspection
Under good lighting, inspect the apex. A genuinely sharp apex reflects very little light directly back toward you. Small bright spots can indicate flattened or damaged sections that have not yet reached a clean apex.
Real Cutting Test
Ultimately, test the knife on the material for which it is intended. A survival or outdoor knife should perform its normal cutting tasks cleanly and controllably. Maximum shaving sharpness is not necessary for every working edge.
Avoid casually testing sharpness against your fingers or other body parts. There are safer ways to evaluate an edge.
Common Knife-Sharpening Mistakes
- Changing the angle during every stroke: inconsistent geometry makes it difficult to create a clean apex.
- Using too much pressure: more force does not automatically produce a better edge and can reduce control.
- Starting too coarse: aggressive abrasives remove more steel than necessary when an edge only needs light maintenance.
- Grinding long after forming a burr: once you have reached the apex, continued heavy abrasion unnecessarily removes material.
- Failing to remove the burr: an edge can initially feel sharp while retaining a weak wire-like burr that quickly folds or breaks away.
- Over-stropping with heavy pressure: excessive pressure on soft material can round the apex you just sharpened.
- Reprofiling without intending to: changing the factory geometry can alter cutting performance and require substantially more work.
- Sharpening only when the knife is completely blunt: light maintenance is generally easier than restoring a severely neglected edge.
Field Sharpener vs. Bench Sharpening System
| Situation | Best approach |
|---|---|
| Routine bug-out knife maintenance | Compact field stone such as the DC4 |
| Minor loss of sharpness | Fine abrasive and/or stropping |
| Normal dull edge | Coarse-to-fine sharpening followed by optional stropping |
| Major chips or edge damage | Larger sharpening equipment may be more practical |
| Major edge reprofiling | Bench system or larger stones provide better control and efficiency |
| Field kit where weight and space matter | Compact combination sharpener |
For preparedness, the goal is not to replace a complete workshop with a pocket stone. The goal is to have enough capability to maintain important cutting tools when normal services and equipment are unavailable.
Should You Carry a Knife Sharpener in a Bug-Out Bag?
For a short evacuation, a sharp knife should not normally become unusable simply because you did not pack a sharpening system. But a compact sharpener becomes more valuable as the expected duration of self-reliance increases.
A small combination stone can also support more than one cutting tool, making it a relatively compact way to preserve the usefulness of equipment over time.
The more important preparation is still knowing how to use the sharpener before you need it. Carrying a DC4 does little good if your first attempt at maintaining an important knife happens during an emergency.
Frequently Asked Questions
What is the best sharpening angle for a survival knife?
There is no single best angle for every survival knife. Steel, blade geometry and intended use all matter. For normal maintenance, follow the existing edge bevel or the knife manufacturer’s sharpening recommendation rather than automatically imposing a 20-degree angle.
Do you need to create a burr when sharpening?
A burr is a useful indication that sharpening has reached the apex when restoring a dull edge. The objective is not to create the largest possible burr; it is to establish the edge and then remove the burr cleanly during refinement.
Should you use the coarse or fine side first?
Use the coarser surface when meaningful steel removal is required. If the knife is already in reasonable condition and only needs maintenance, begin with the finer surface to avoid removing more steel than necessary.
Can you sharpen a knife with a leather strop?
A strop is primarily a finishing and maintenance tool. It can improve an edge that is already close to sharp, especially when used with an appropriate compound, but it is not an efficient replacement for an abrasive stone when a blade is genuinely dull or damaged.
Is the Fällkniven DC4 good for a bug-out bag?
Yes. Its main preparedness advantage is that diamond and ceramic sharpening surfaces are combined in a compact tool. That makes it useful for field maintenance where carrying a larger sharpening system would be impractical.
Does a survival knife need to be shaving sharp?
Not necessarily. A working survival knife needs a consistent, functional edge appropriate to its intended tasks. Chasing maximum shaving sharpness can encourage unnecessary sharpening and steel removal without meaningfully improving field performance.
How often should you sharpen a survival knife?
There is no fixed schedule. Sharpen according to edge condition and use. Light maintenance before the knife becomes severely dull is generally easier and removes less material than repeatedly restoring a badly neglected edge.
Our Verdict
Knife sharpening is a preparedness skill worth learning, but the objective is edge maintenance rather than perfection. Learn to recognize the existing bevel, maintain a consistent angle, understand when a coarse abrasive is actually necessary and remove the burr correctly.
For a compact preparedness kit, the Fällkniven DC4 is a practical choice because it combines diamond and ceramic surfaces without requiring electricity or a large sharpening system. A leather strop is a useful complement for finer edge maintenance, particularly at home.
Most importantly, practise on an inexpensive knife until you can produce a consistent working edge. The skill weighs nothing and remains useful even when your preferred sharpening equipment is unavailable.