
Portuguese Prepper
How to Build a DIY Safe Room on a Budget
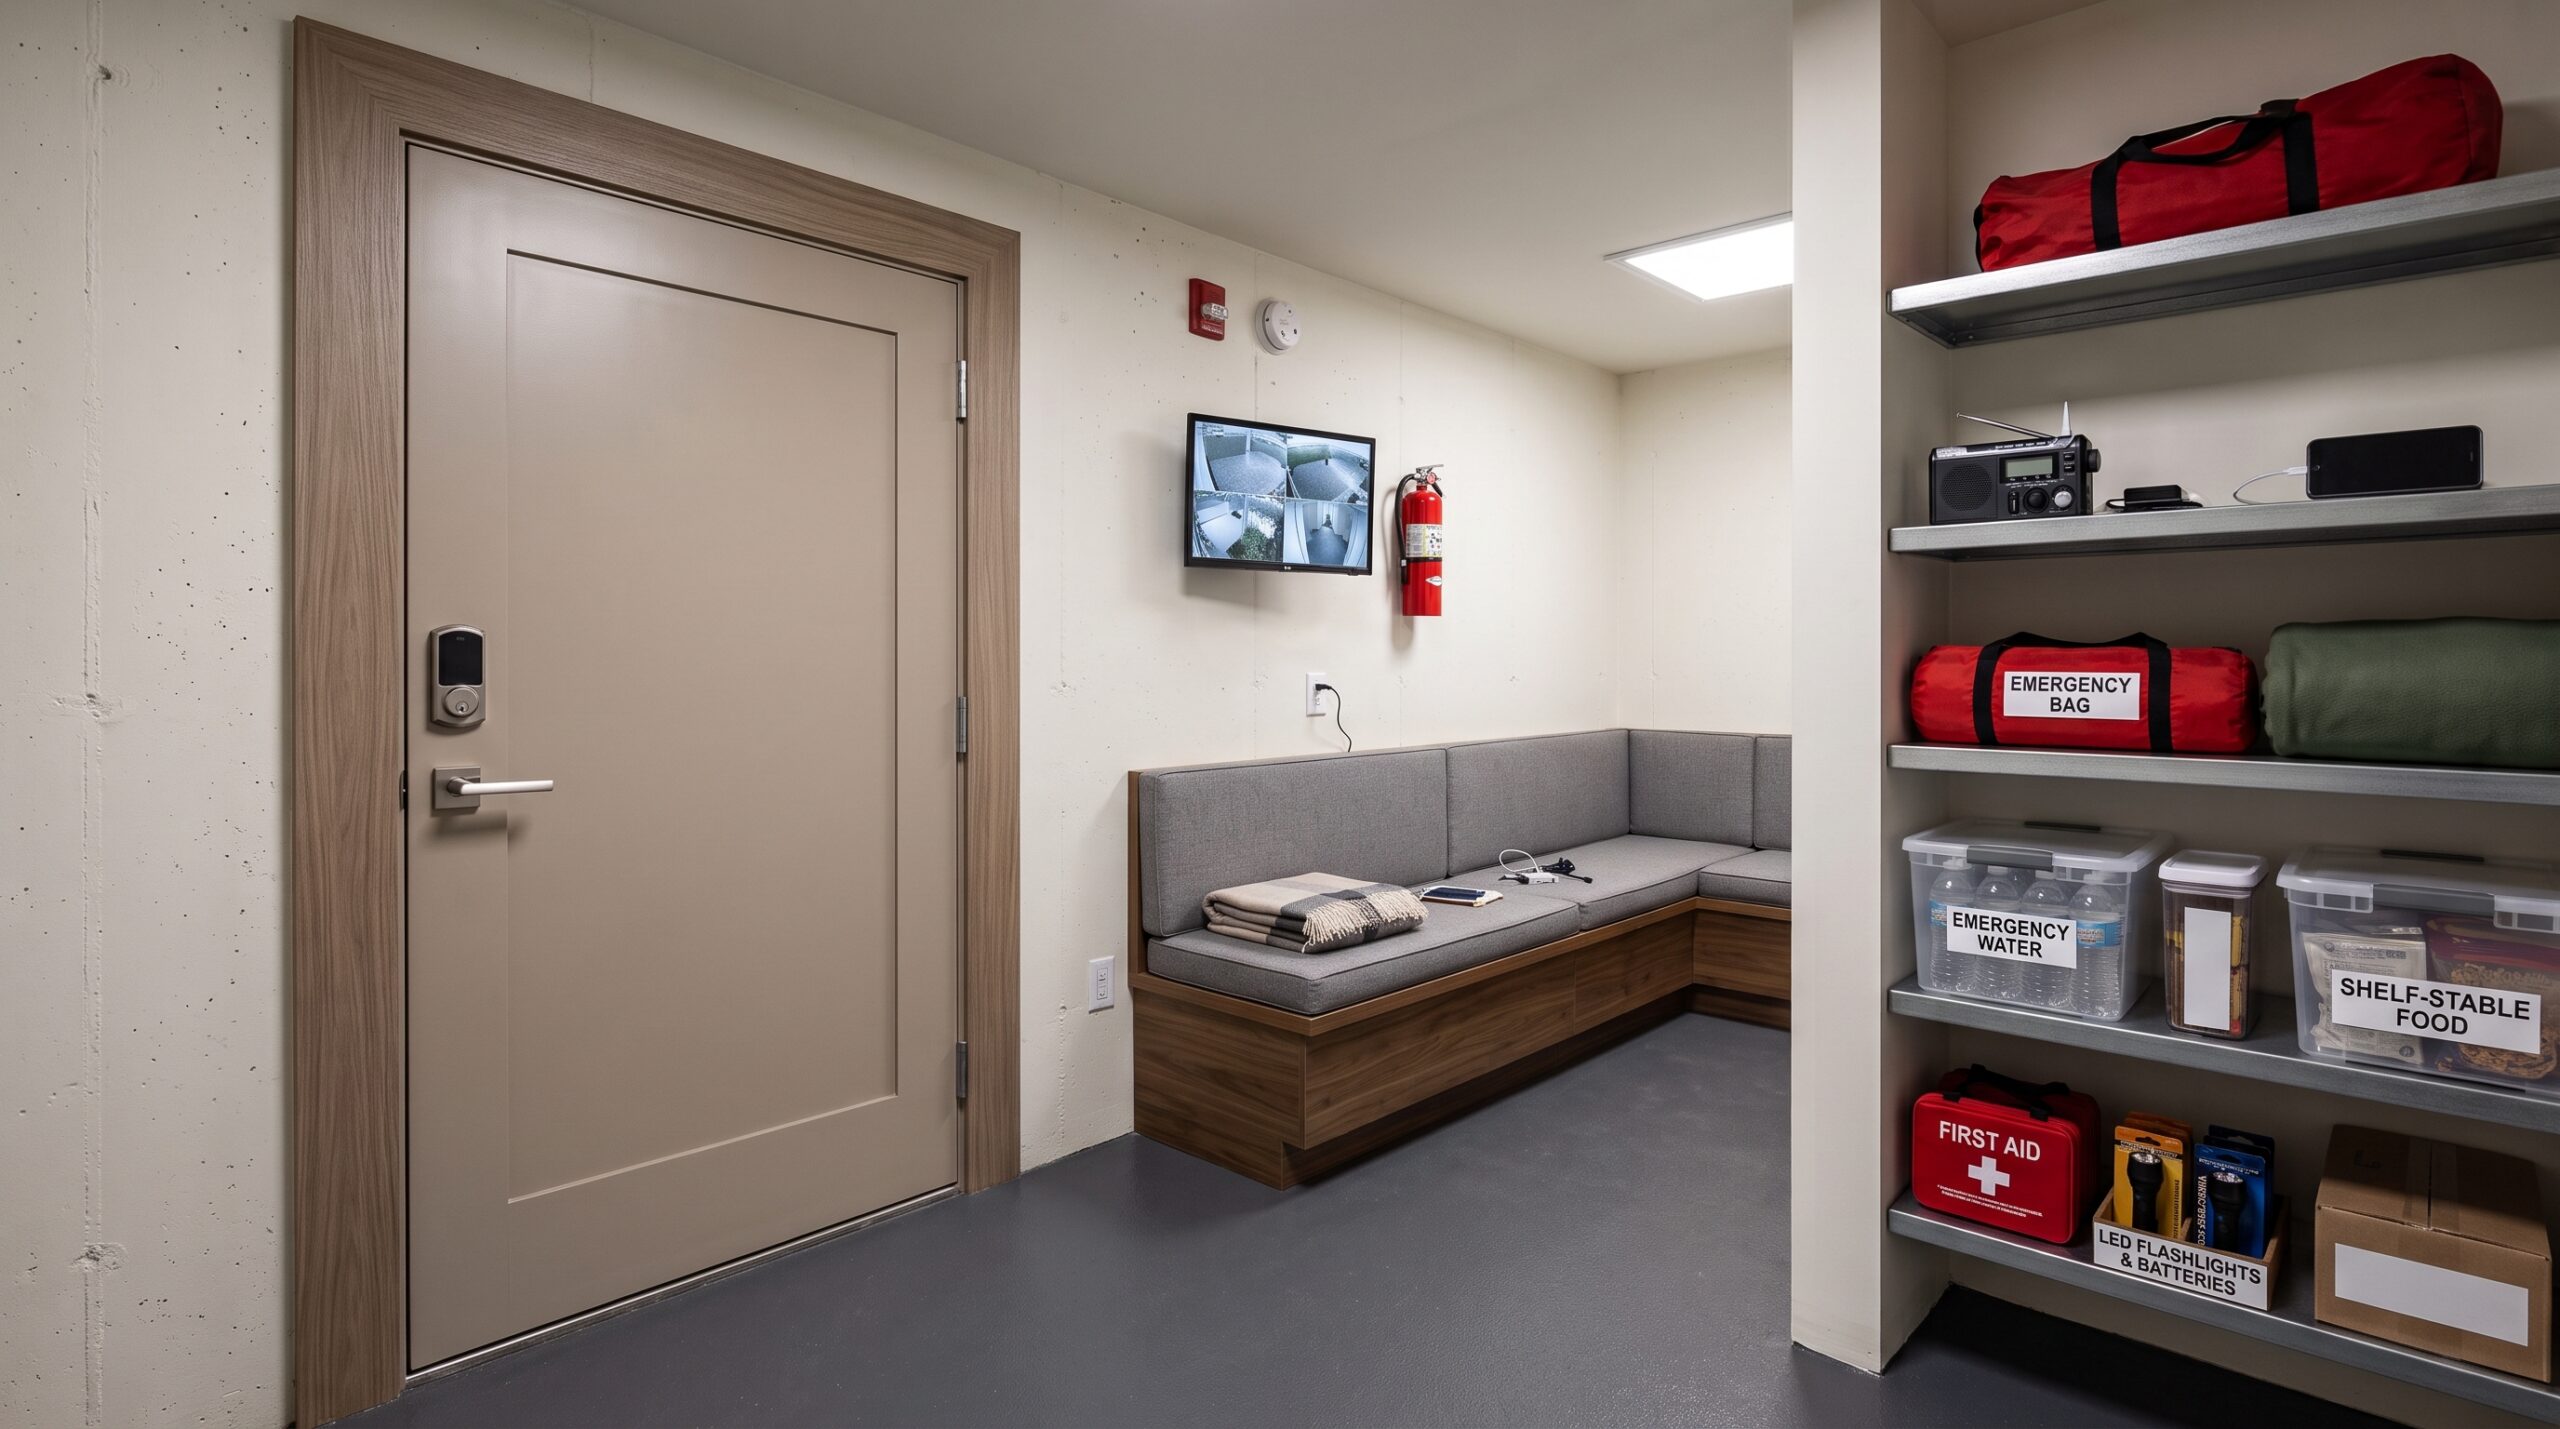
During a home intrusion, the safest response for most occupants is generally not to move through the house looking for the intruder. If escape is not safe or practical, a predetermined room can provide a place for household members to gather, lock the door, contact emergency services, and wait for help.
You do not necessarily need a purpose-built steel vault to improve your home’s defensive shelter options. A bedroom, walk-in closet, or other suitable interior room can be hardened to provide additional resistance and delay. However, a DIY reinforced room should not be confused with a professionally engineered or certified safe room designed for specific threats.
What a DIY Safe Room Can — and Cannot — Do
The objective of a residential refuge room is delay, communication, and separation. A stronger door and frame can make rapid forced entry more difficult, giving occupants additional time to contact emergency services and follow their household emergency plan.
It is important to understand the limitations. Reinforcing a bedroom door does not make the entire room impenetrable. Walls, windows, ceilings, adjoining rooms, and other construction elements may remain vulnerable.
For that reason, think of a DIY safe room as a hardened refuge area, not a guaranteed protective vault.
Step 1: Upgrade the Door
Many interior residential doors are hollow-core designs intended primarily for privacy rather than security. Their lightweight internal construction provides substantially less resistance to impact than a solid-core or suitable exterior-grade door.
The upgrade: Replace the selected room’s hollow-core door with a compatible solid-core door or another appropriately rated, stronger door assembly.
The door itself is only one part of the system. A heavy door installed in a weak frame can simply move the failure point from the door to the jamb, hinges, or surrounding structure.
Step 2: Reinforce the Frame and Hardware
Once the door is upgraded, examine the entire door assembly rather than concentrating exclusively on the lock.
1. Reinforce the jamb: A system such as Door Armor can reinforce the strike area, lock side, and other vulnerable parts of the door assembly. Where appropriate, correctly selected longer structural screws can also improve attachment to the framing behind the jamb.
2. Reinforce the hinge side: The hinges and their attachment points should receive the same attention as the lock side. Strengthening only the deadbolt can leave another part of the assembly comparatively weak.
3. Choose appropriate locking hardware: A quality deadbolt or other interior locking system can add another layer of resistance. A lock operated only from the protected side eliminates an exposed exterior cylinder on that particular lock, but the complete door assembly remains only as strong as its weakest component.
4. Consider an interior barricade: A properly installed floor- or door-mounted interior barrier can add another resistance point while the room is occupied. It should never interfere with required emergency egress or create an unacceptable fire-safety hazard.
Step 3: Address Windows and Other Weak Points
A reinforced door provides limited benefit if the room has another easily accessible entry point.
If the selected room has an exterior window, evaluate its location, accessibility, frame, locking hardware, and glazing. Security film can increase the amount of time required to create a usable opening through some types of glass, particularly when an appropriate attachment system secures the film at the perimeter.
See our guide to window security film for the difference between simply applying film to glass and using a more complete anchored installation.
At the same time, do not eliminate a potentially necessary emergency exit without considering fire safety. Security improvements and emergency egress need to work together.
Step 4: Store Essential Supplies Inside
A refuge room should contain the equipment needed to communicate, see, provide basic first aid, and remain inside temporarily without having to leave to retrieve essential items.
- Communications: Keep a charged mobile phone available. A backup power bank and charging cable are useful additions. Do not rely exclusively on an inactive phone: emergency-call capability can vary with network availability, device compatibility, location, and local telecommunications systems.
- Emergency information: Keep your address, relevant medical information, emergency contacts, and any information responders may need immediately accessible.
- Lighting: Store a dependable flashlight with charged batteries or a backup power source.
- First Aid: Keep an appropriate first-aid kit inside the room. Trauma-control equipment should only be used by someone who understands how and when to use it.
- Water: Store a small supply of drinking water, particularly if the room is part of a broader emergency-preparedness plan.
- Backup Power: A charged USB power bank can keep a phone or other small communication device operating during a power failure.
- Signaling: A whistle or other simple signaling device can provide another way to attract attention if electronic communications fail.
Safe Room Essentials
Affiliate disclosure: This page contains affiliate links. If you purchase through these links, we may earn a commission at no additional cost to you.
The Hollow-Core Door Warning
Do not assume that adding a strong deadbolt automatically makes a lightweight interior door secure.
A hollow-core door may fail around reinforced hardware when subjected to sufficient force. The lock, door, jamb, hinges, fasteners, and surrounding structure work as a system, and strengthening only one component can leave another as the new failure point.
For a room intended to provide meaningful forced-entry resistance, start with an appropriate door and then reinforce the complete assembly.
Choose the Room Carefully
The best room is not automatically the largest bedroom or the room with the strongest existing door. Consider how quickly every household member can reach it, particularly at night.
Also consider exterior windows, the strength of surrounding construction, mobile-phone reception, alternative exits, fire-safety requirements, and whether children or people with limited mobility can reach and use the room safely.
A refuge room that is difficult to reach during an emergency may provide less practical value than a more accessible room with carefully planned reinforcement.
Have a Family Safe-Room Plan
Hardware alone is not a plan. Household members should know which room to use, how to reach it, who is responsible for children or other dependents, and how emergency services will be contacted.
Once inside, avoid reopening the door simply because someone outside claims the situation is safe. If emergency services have been contacted, follow dispatcher instructions and use verified communication whenever possible.
Your household plan should also account for fire or another emergency that makes remaining in the room more dangerous than leaving it. In an upper-floor room, an appropriate secondary egress option may include an emergency escape ladder.
DIY Safe Room FAQ
Can I turn a bedroom into a safe room?
A bedroom can be hardened to provide greater resistance to forced entry by upgrading the door, frame, locks, hinges, and other vulnerable openings. That does not make it equivalent to a professionally engineered or certified safe room.
Is a solid-core door enough for a safe room?
No. The frame, strike area, hinges, fasteners, locks, surrounding construction, and any windows also affect the room’s security. The complete assembly should be considered rather than the door alone.
Should a safe room have a window?
A window can create an additional security vulnerability, but it may also provide important emergency egress depending on the room and local building requirements. Security reinforcement should never be considered independently of fire safety and escape planning.
How long will a DIY safe room resist forced entry?
There is no reliable universal time. Resistance depends on the construction of the door, frame, walls and windows, installation quality, tools available to the person attempting entry, and many other variables. The objective is to increase delay rather than promise a specific number of minutes.
What should I keep in a home safe room?
Prioritize communications, backup power, lighting, basic first aid, emergency information, and drinking water. Additional supplies should reflect the household, expected occupancy time, local risks, and the needs of children, older adults, pets, or anyone with medical requirements.